
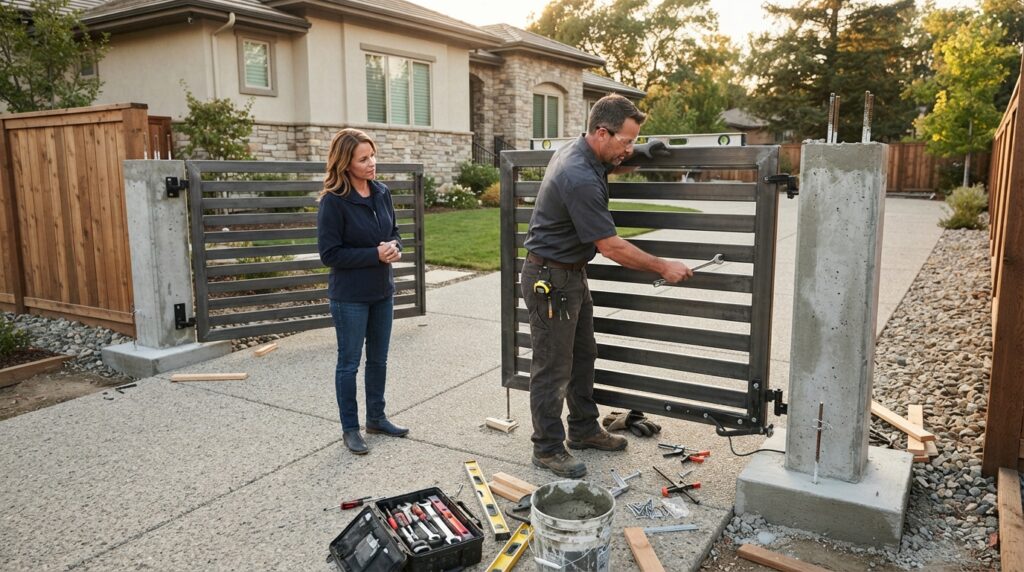
Driveway Gate Installation Expectations: A Homeowner’s Guide
Driveway gate installation expectations begin long before the gate arrives. Homeowners should anticipate a site assessment covering driveway width, slope, drainage, turning space, sight distance, property lines, utilities, and whether vehicles can wait safely off the public road. Local permits, HOA rules, fire access standards, and roadway requirements may also affect the design, placement, and timeline.
The installation itself can involve foundation work, electrical service, safety sensors, access controls, and testing for smooth, reliable operation. Understanding these steps, along with potential costs, delays, and maintenance needs, helps you choose the right swing or sliding gate and avoid surprises once work begins.
Key Takeaways
- Start with a professional site assessment covering driveway dimensions, slope, drainage, sight distance, turning space, property lines, utilities, and vehicle queuing. Confirm all permits, HOA approvals, roadway rules, and fire-access requirements before construction begins.
- Choose a swing, sliding, bi-fold, or vertical-lift gate based on available space, grade, weather, traffic patterns, drainage, and maintenance needs. The design must keep vehicles off public roads and avoid blocking sidewalks, sight lines, or emergency access.
- Expect excavation, concrete footings, utility work, wiring, equipment installation, and temporary driveway restrictions. Clarify the project timeline, potential weather or utility delays, restoration work, cleanup, and all cost responsibilities in writing before signing the contract.
- Require complete handover testing for alignment, opening and closing, obstruction detection, photo eyes, reversing, access controls, manual release, and backup power. Keep the warranty and operating instructions, and maintain hinges, tracks, sensors, drainage, and safety equipment regularly.
Introduction to Driveway Gate Installation Expectations
A professional driveway gate installation begins with a site assessment, not demolition. The installer typically reviews the driveway width, slope, drainage, sight distance, turning radius, property lines, utility locations, and whether vehicles can wait safely off the public roadway. Before work begins, local building departments, transportation agencies, fire marshals, utility locators, and HOAs may require separate approvals, inspections, setbacks, access clearances, or design changes. Because requirements vary by jurisdiction and property, homeowners should confirm which permits and documents apply before scheduling construction. You should also expect the installation team to explain the gate layout, power source, access controls, drainage needs, and any temporary access limitations.
During construction, crews may excavate for posts, footings, conduits, drainage improvements, or operator equipment. They may also cut or remove portions of pavement, fencing, or landscaping. Construction activity can create noise, dust, soil piles, equipment traffic, and short periods when the driveway is blocked, so plan alternate parking and keep children, pets, and visitors away from the work zone. A safe installation should include clearly marked hazards, protected trenches, stable temporary barriers, and coordination around overhead or underground utilities. The gate must also be positioned and operated so it does not obstruct sidewalks, public travel lanes, emergency access, or required sight lines.
After the gate, hardware, wiring, and controls are installed, the contractor should inspect the structure and complete functional testing before turning it over to you. Testing commonly covers smooth opening and closing, stopping and reversing functions, vehicle detection, remote controls, keypads, safety edges, photo eyes, manual release features, and backup power when included. The team should adjust alignment, speed, clearances, and access settings, then explain routine maintenance and what to do during a power outage or malfunction. Final inspections or approvals may still be required by the building department, fire marshal, transportation agency, or HOA, so retain permit records, equipment information, and operating instructions for future service.
Preinstallation Site and Code Review
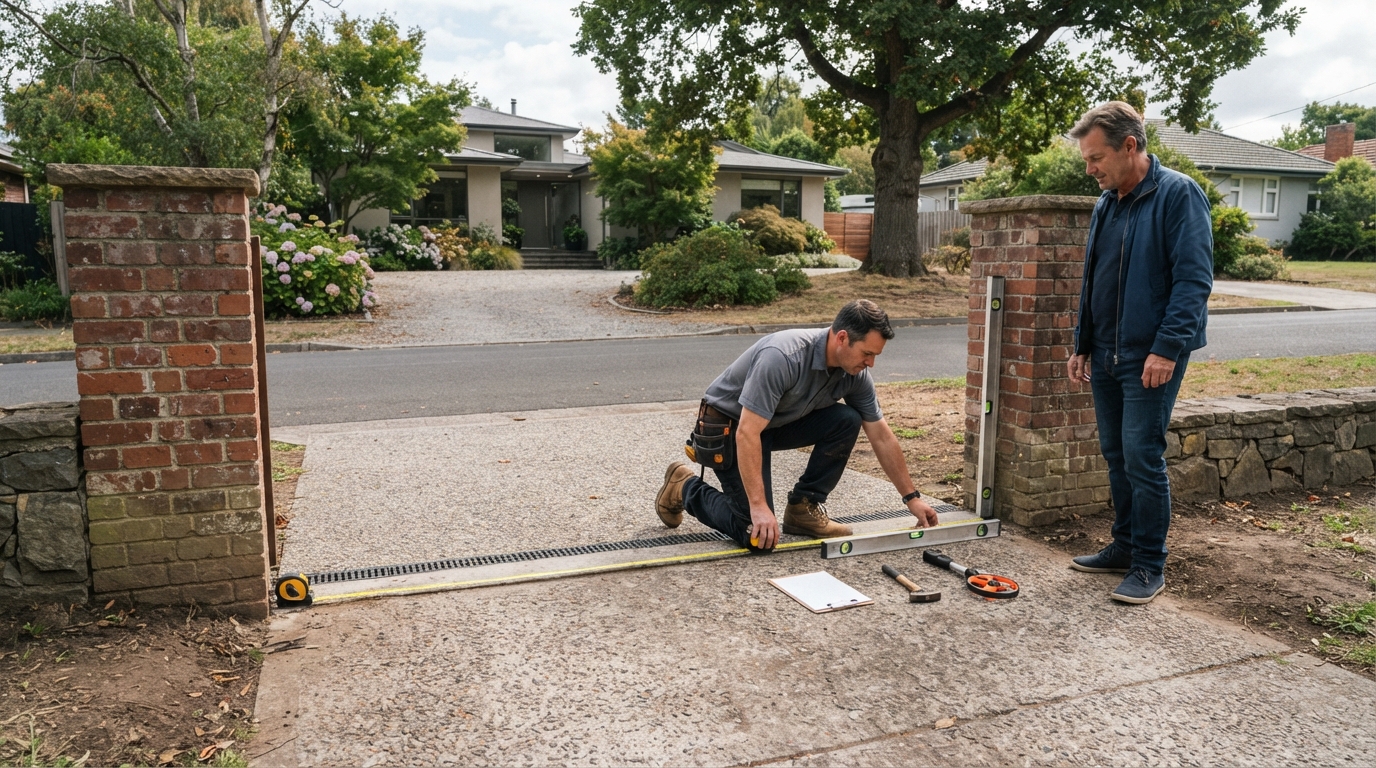
Before construction begins, the installer should complete a detailed site evaluation to confirm that the gate will fit and operate safely. This review typically includes driveway width, slope, drainage patterns, sight distance for approaching traffic, turning radius, and the space needed for a swing or sliding gate. The installer should also verify property lines, identify overhead and underground utilities, and determine whether vehicles can queue on the property while the gate opens. If a vehicle would need to stop in a travel lane or block a sidewalk, the design may need to change before installation. These findings help establish the gate location, opening direction, equipment placement, and any required grading or drainage improvements.
Code and access requirements should be confirmed before materials are ordered or construction is scheduled. Depending on the location, the project may require permits or approvals, front-yard or road setbacks, transportation agency approval, and compliance with driveway access or sight-line rules. Utility locating should be completed before digging, even when the proposed gate appears to be outside existing service areas. Properties governed by an HOA may also require architectural approval separate from local permits. A professional installer should identify these requirements early and explain which approvals the homeowner must obtain, reducing the risk of delays, redesigns, or costly corrections.
Gate Type and Access Planning
The right gate type depends on how your property handles space, grade, weather, and daily traffic. Swing gates need clear room inside or outside the driveway and may be unsuitable where a slope, sidewalk, drainage path, or parked vehicles interferes with the arc. Sliding gates preserve swing space, but they require a level, unobstructed slide-stack area and a dependable track or cantilever system that can tolerate snow, mud, and debris. Bi-fold gates reduce the required swing and slide distance, while vertical-lift gates can work where side clearance is limited. Both require careful attention to wind exposure, overhead clearance, and equipment access.
Before construction begins, the installer should review the opening direction and confirm that vehicles can wait fully off the public roadway while the gate operates. Expect measurements for driveway width, turning radius, sight distance, finished grade, drainage flow, underground utilities, and property lines. The plan should identify post sizes and footings, hinge locations, slide tracks or guide hardware, the operator position, and the space needed for maintenance. It should also account for snow storage, runoff, prevailing winds, and the traffic pattern created by residents, deliveries, guests, and emergency vehicles.
A professional installation plan will document where the keypad, remote receiver, vehicle sensor, intercom, and other access controls will be placed so they are reachable without forcing a driver into traffic. The installer should explain how the gate will release during a power outage, where manual disconnects are located, and how emergency responders can enter when required by local rules. Safety devices, including photo eyes and obstruction detection, should be positioned and tested before the project is complete. Local building, fire, roadway, utility, and HOA requirements may affect the design, so confirming approvals and access conditions early helps prevent costly changes after posts, tracks, or concrete are installed.
Installation Day Construction Process
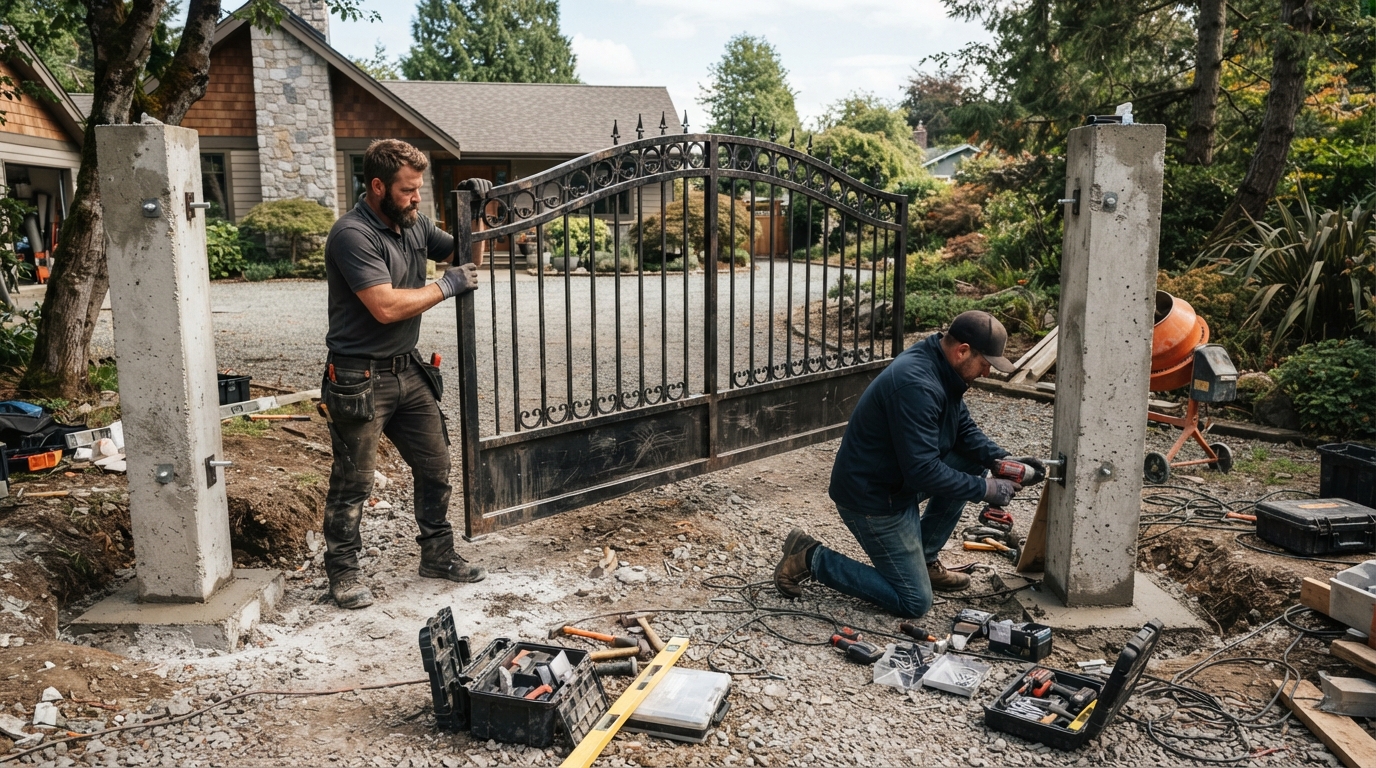
Installation day typically begins with confirmation of the gate layout, property boundaries, driveway clearances, swing or slide direction, and utility markings. The crew may use paint, stakes, or string lines to show post locations and the gate’s travel path before excavation starts. Once the layout is approved, workers excavate the post foundations, place reinforcement or forms when needed, and pour concrete to create a stable base. Utility coordination is important, so work may be scheduled around required utility locates and site-specific approvals. Depending on the equipment and access conditions, expect construction noise, dust, delivery vehicles, and a temporary driveway closure while the foundation work is underway.
After the concrete is placed and sufficiently set for the next stage, the crew installs the posts and gate frame, then prepares the slide tracks, rollers, hinges, or other operating hardware. The gate may not be fully operational immediately because concrete requires a curing period. The installer may schedule a return visit for final adjustments, automation, or safety testing. Weather can delay excavation, concrete placement, or curing, particularly during heavy rain, freezing temperatures, or saturated site conditions. At the end of the work, the crew should remove excess materials, backfill or grade disturbed areas, and leave the driveway and surrounding property reasonably clean. Ask in advance when vehicle access will resume and whether landscaping, paving, or other surface repairs are included in the project scope.
Automation Safety and Final Handover
The automation phase typically includes the electrical connection for the operator and separate low-voltage wiring for controls, sensors, and accessories. Depending on the design, the system may include vehicle sensors, remote transmitters, a keypad, loop detectors, or smartphone connectivity through an internet or cellular connection. Installers should route and protect wiring appropriately, verify grounding and power requirements, and explain how backup power operates during an outage when that feature is included. Loop detectors and other vehicle sensors should be positioned and adjusted so the gate responds reliably without creating unexpected openings. Any work that requires permits or licensed electrical installation should be completed in accordance with applicable local requirements.
Before handover, the installer should perform a complete inspection and test the gate through normal opening, closing, stopping, and reversing cycles. Safety devices, including photo eyes, contact edges, emergency stops, vehicle detection, and obstruction response, should be demonstrated rather than simply described. The installer should also show each user how to operate the remotes and keypad, use connectivity features, and engage the manual release if power or automation is unavailable. Code-compliant operation depends on proper clearances, warning labels, entrapment protection, and device placement, with final requirements determined by the applicable authority having jurisdiction. Ask for warranty documents, equipment information, access credentials, and written maintenance instructions before the project is considered complete.
A professional handover also explains the routine care needed to keep the gate dependable, such as keeping tracks, hinges, sensors, and drainage areas free of dirt, leaves, snow, and standing water. Everyone using the driveway should understand that people, pets, and vehicles must remain clear of the gate’s travel path and swing or slide area while it is moving. Do not allow children to play near the operator, defeat safety sensors, or treat the gate as a substitute for a traffic-control barrier. The installer should identify who to contact for service and note any recommended inspection or battery-replacement schedule. Reviewing these procedures helps confirm that the completed installation is safe, usable, and ready for everyday operation.
What to Expect During Driveway Gate Installation
A successful driveway gate installation begins with accurate site planning, not simply choosing a style from a catalog. The installer should evaluate the driveway width, slope, drainage, turning radius, sight distance, property lines, utilities, and the space needed for a swinging or sliding gate. Your gate selection should match the site conditions, traffic patterns, privacy goals, available power, and expected maintenance. Local building, roadway, fire access, electrical, and HOA requirements must also be confirmed before construction begins. Once work starts, expect excavation, concrete or footing construction, wiring, equipment staging, and temporary limits on driveway access. Professional installation should end with alignment checks, force and entrapment testing, sensor and remote-control testing, and confirmation that the gate operates safely under normal and emergency conditions.
Before signing the contract, clarify exactly what the project includes and when each phase is expected to occur. Confirm responsibility for permits, utility locating, removal of existing materials, landscaping or paving restoration, electrical connections, weather-related delays, and cleanup. Ask how vehicles, residents, deliveries, and emergency access will be handled while the driveway is restricted, and identify who will provide updates if the schedule changes. The final handoff should include operating instructions, maintenance recommendations, control and safety feature information, warranty details, and a clear explanation of what to do if the gate stops working. When planning, construction, restoration, and safety expectations are documented in advance, homeowners can approach installation with greater confidence and fewer surprises.
Frequently Asked Questions
1. What should you expect during a driveway gate site assessment?
You should expect the installer to evaluate driveway width, slope, drainage, turning space, sight distance, property lines, utility locations, and vehicle waiting space. The assessment also helps determine whether a swing or sliding gate is appropriate and identifies access, grading, or clearance issues before construction begins.
2. Do you need permits or approvals for a driveway gate installation?
You may need permits or approvals from your local building department, transportation agency, fire marshal, utility providers, or homeowners association. Requirements vary by location and property, so confirm setbacks, roadway visibility, fire access, utility clearances, and design rules before scheduling the work.
3. How long does driveway gate installation take?
The timeline depends on the gate type, foundation requirements, electrical work, drainage improvements, permitting, and site conditions. Excavation, inspections, utility conflicts, weather, or changes requested during construction can extend the schedule, so your installer should provide a project sequence and identify possible delays in advance.
4. What construction work is involved in installing a driveway gate?
Installation may include excavating for posts, footings, conduits, drainage, and operator equipment. Crews may also cut or remove sections of pavement, fencing, or landscaping, which can create temporary noise, dust, soil piles, equipment traffic, and driveway access restrictions.
5. How should you prepare your property before installation begins?
Plan alternate parking and arrange access for residents, guests, deliveries, and emergency vehicles if the driveway will be blocked. Keep children and pets away from the work area, remove belongings near the construction zone, and discuss landscaping, pavement, and temporary access expectations with the installer.
6. What electrical and safety features should you expect?
An automated gate may require dedicated electrical service, underground conduit, operator equipment, safety sensors, and access controls such as keypads, remotes, intercoms, or vehicle detection. The installer should test opening and closing speed, sensor response, emergency release functions, and reliable operation before completing the project.
7. How can you avoid unexpected driveway gate installation costs?
Request a written estimate that separates the gate, posts, foundation, excavation, electrical service, access controls, drainage, pavement or fence repairs, permits, and inspections. Ask which site conditions could add cost, including difficult soil, utility relocation, long conduit runs, grading changes, or restoration work.
8. What maintenance should you expect after the gate is installed?
Expect to keep hinges, rollers, tracks, operators, sensors, and access controls clean and properly adjusted. Periodic inspections can identify drainage problems, settling, worn hardware, electrical faults, or alignment issues before they affect safety and reliable operation.